Getting Started (Cloud)
Get your EZRGB show playing in just a few minutes.
This version of "Getting Started" is for people who set up their shows in the EZRGB Cloud.
If you set up your show with xLights and have a show folder on the player machine, start here instead.
Before you start
You'll need:
- EZPlayer installed (Windows, macOS, or Linux). See releases.
- A location for your show folder — permanent storage for your layout, sequences, and audio (an empty folder is fine for a new cloud-managed show).
- Eventually you will need your controllers reachable on the network, with lights wired up, but you can skip this at first.
1. Point EZPlayer at your show folder
On first launch, choose Connect to EZRGB Cloud.
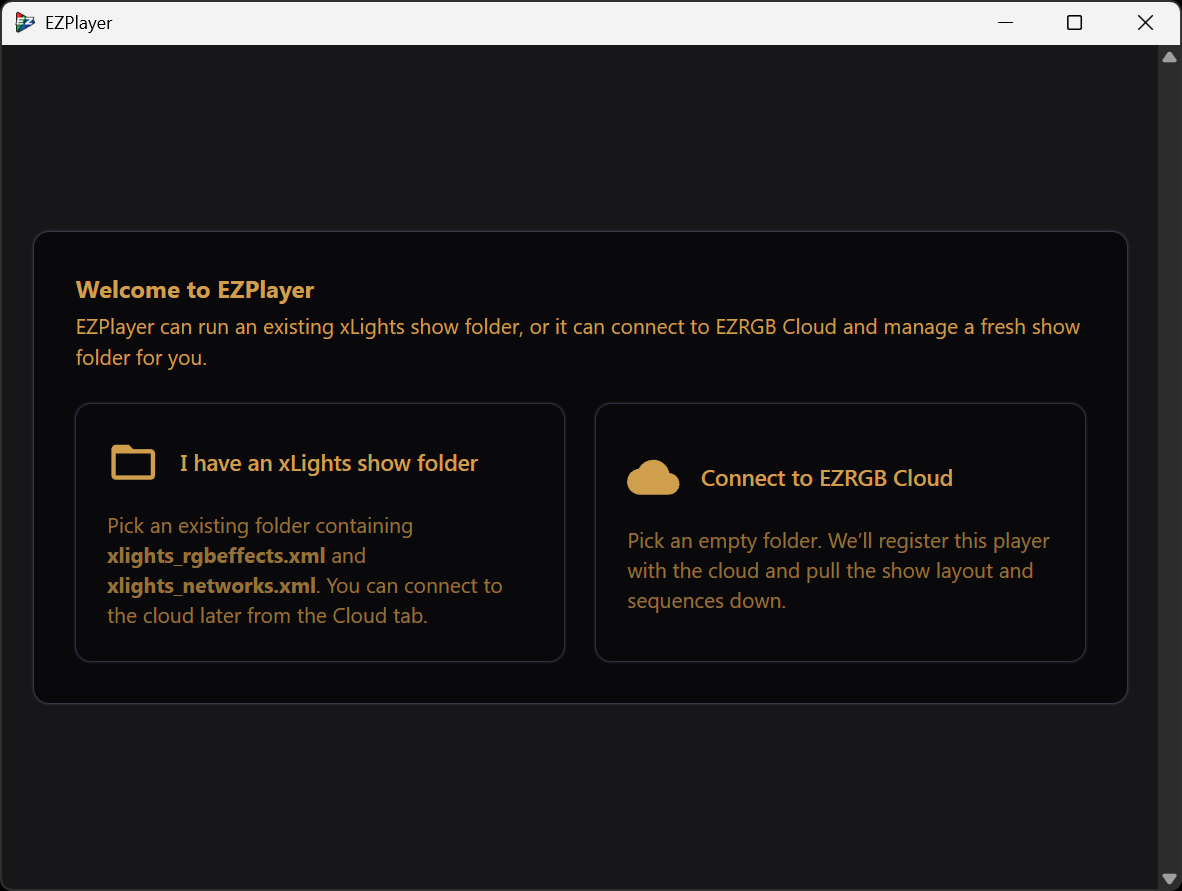
Choose a show folder for this install.
When the registration screen appears, click the URL to sign in to EZRGB and register your player, or scan the QR code with another device to complete registration.
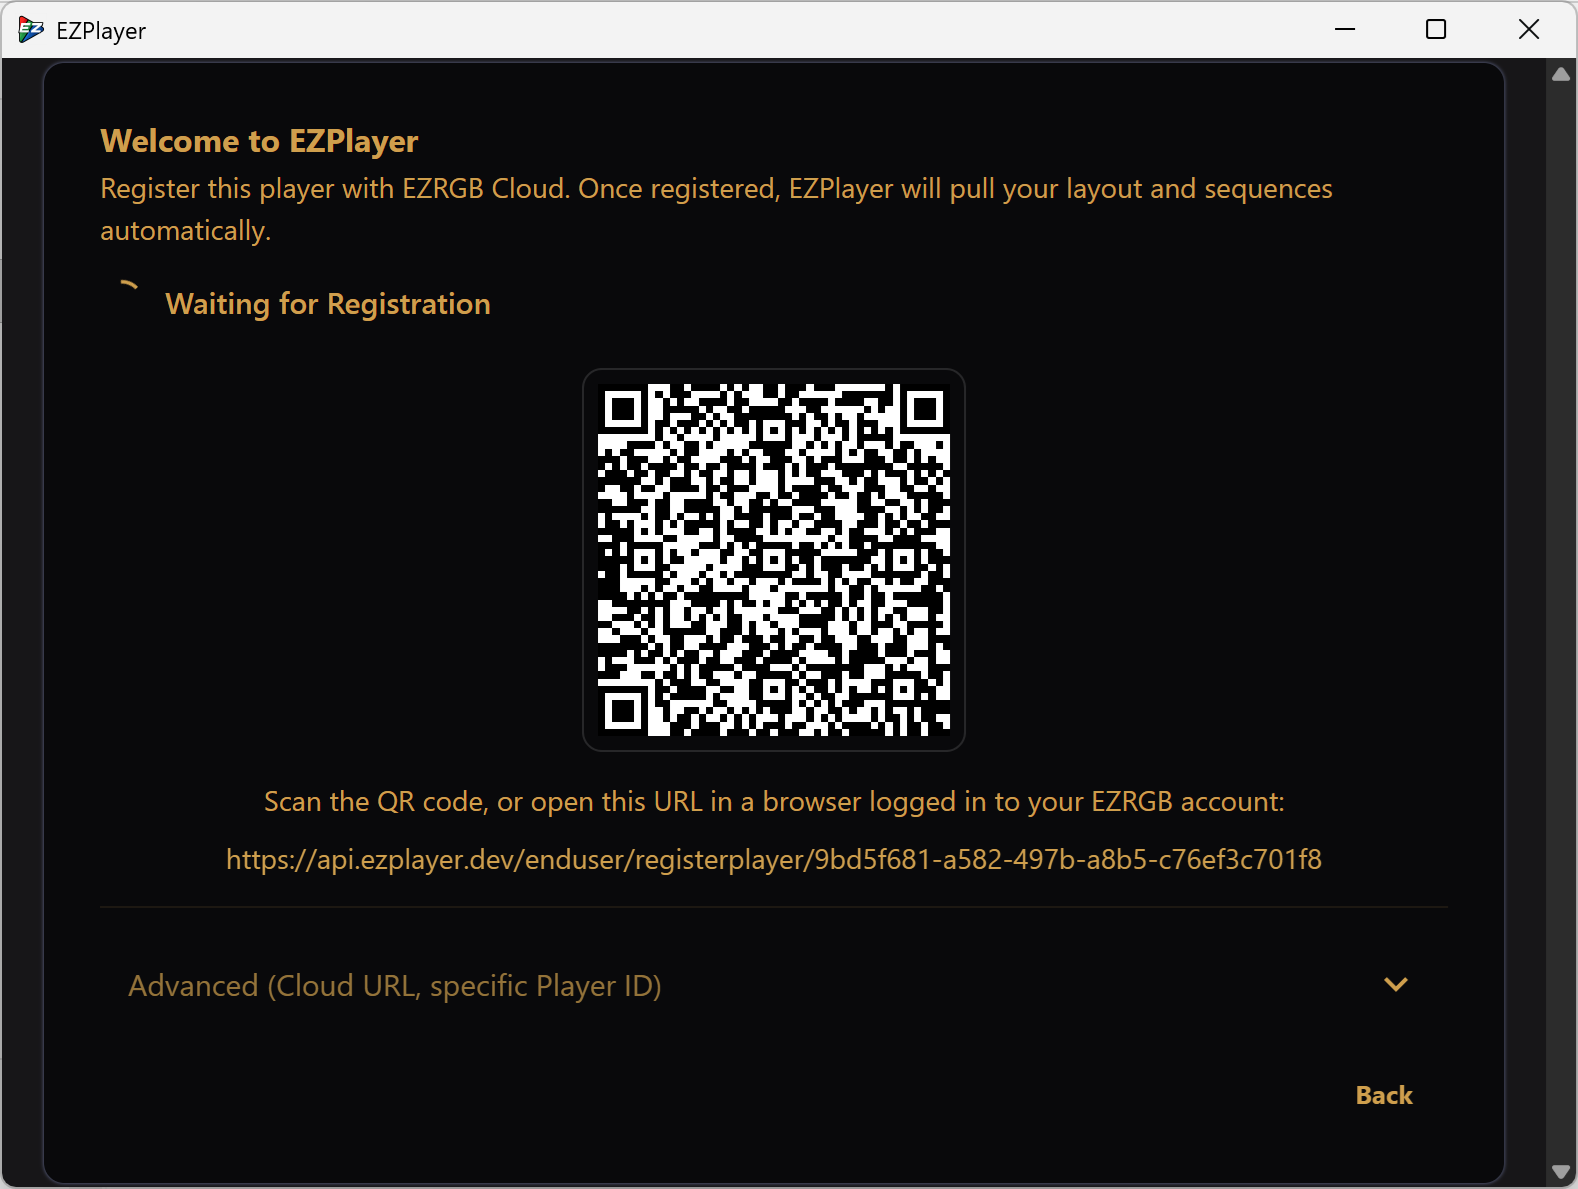
When EZRGB confirms the claim, EZPlayer pulls your layout and opens the main app. Your player also appears under EZPlayer on your EZRGB account — use Manage Player there later for remote control over the internet.
2. Wait for content
Open the Cloud screen and watch your content download. You should see Cloud connected with a Cloud master chip. Use Sync Layout + Content if you just changed something on EZRGB and do not want to wait for the next automatic poll.
3. Play it
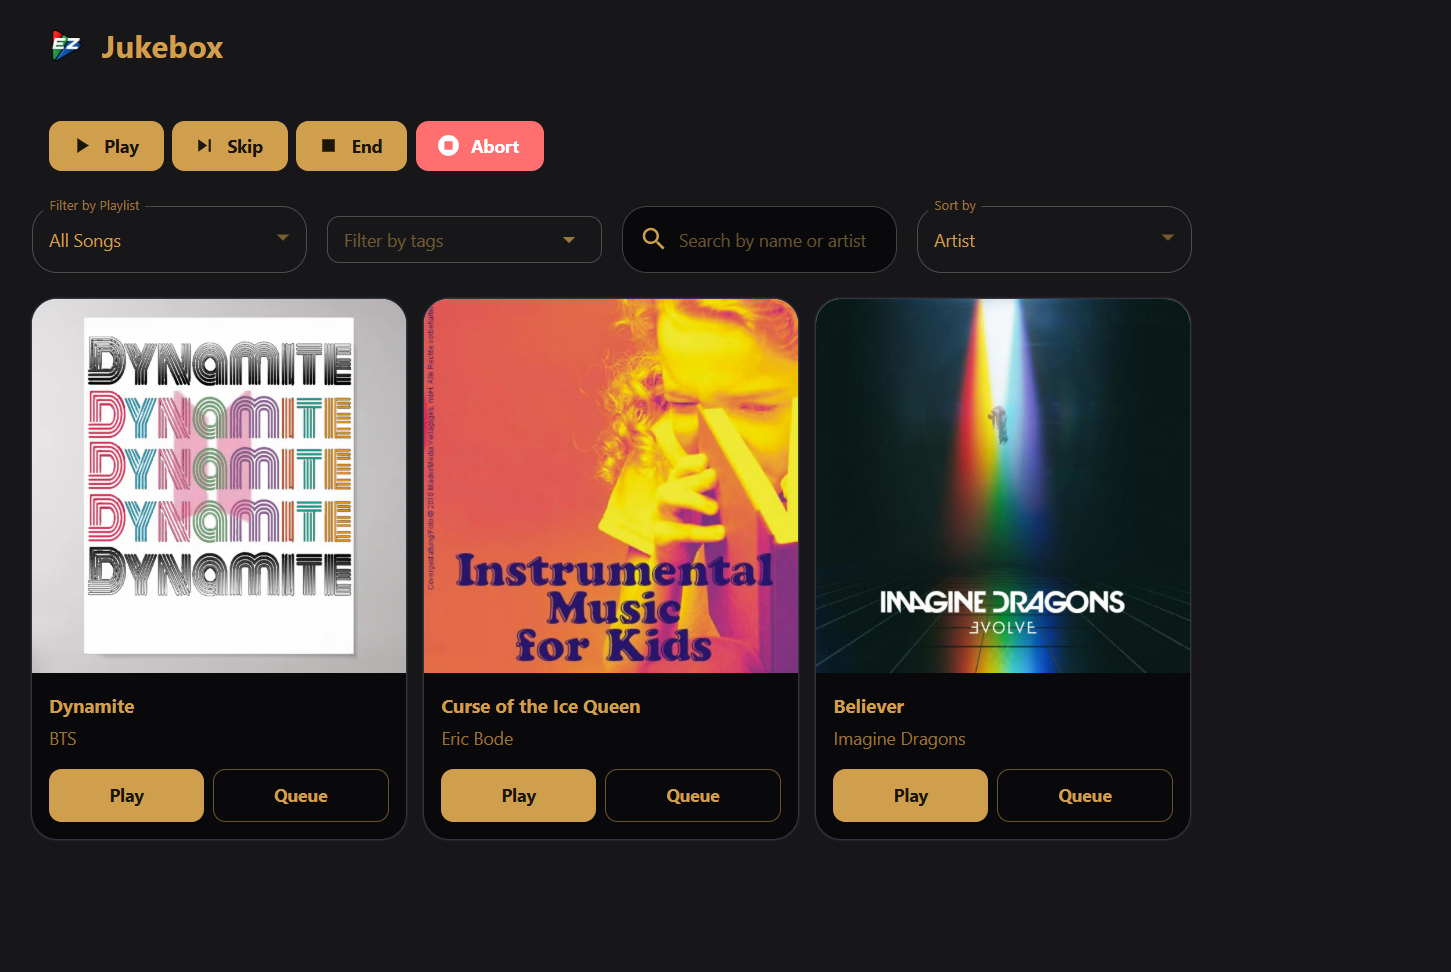
Use the Jukebox to queue sequences and let them run. Want to see it before it hits the real lights? The 3D Preview screen renders the show on screen as it plays.
4. Build a playlist
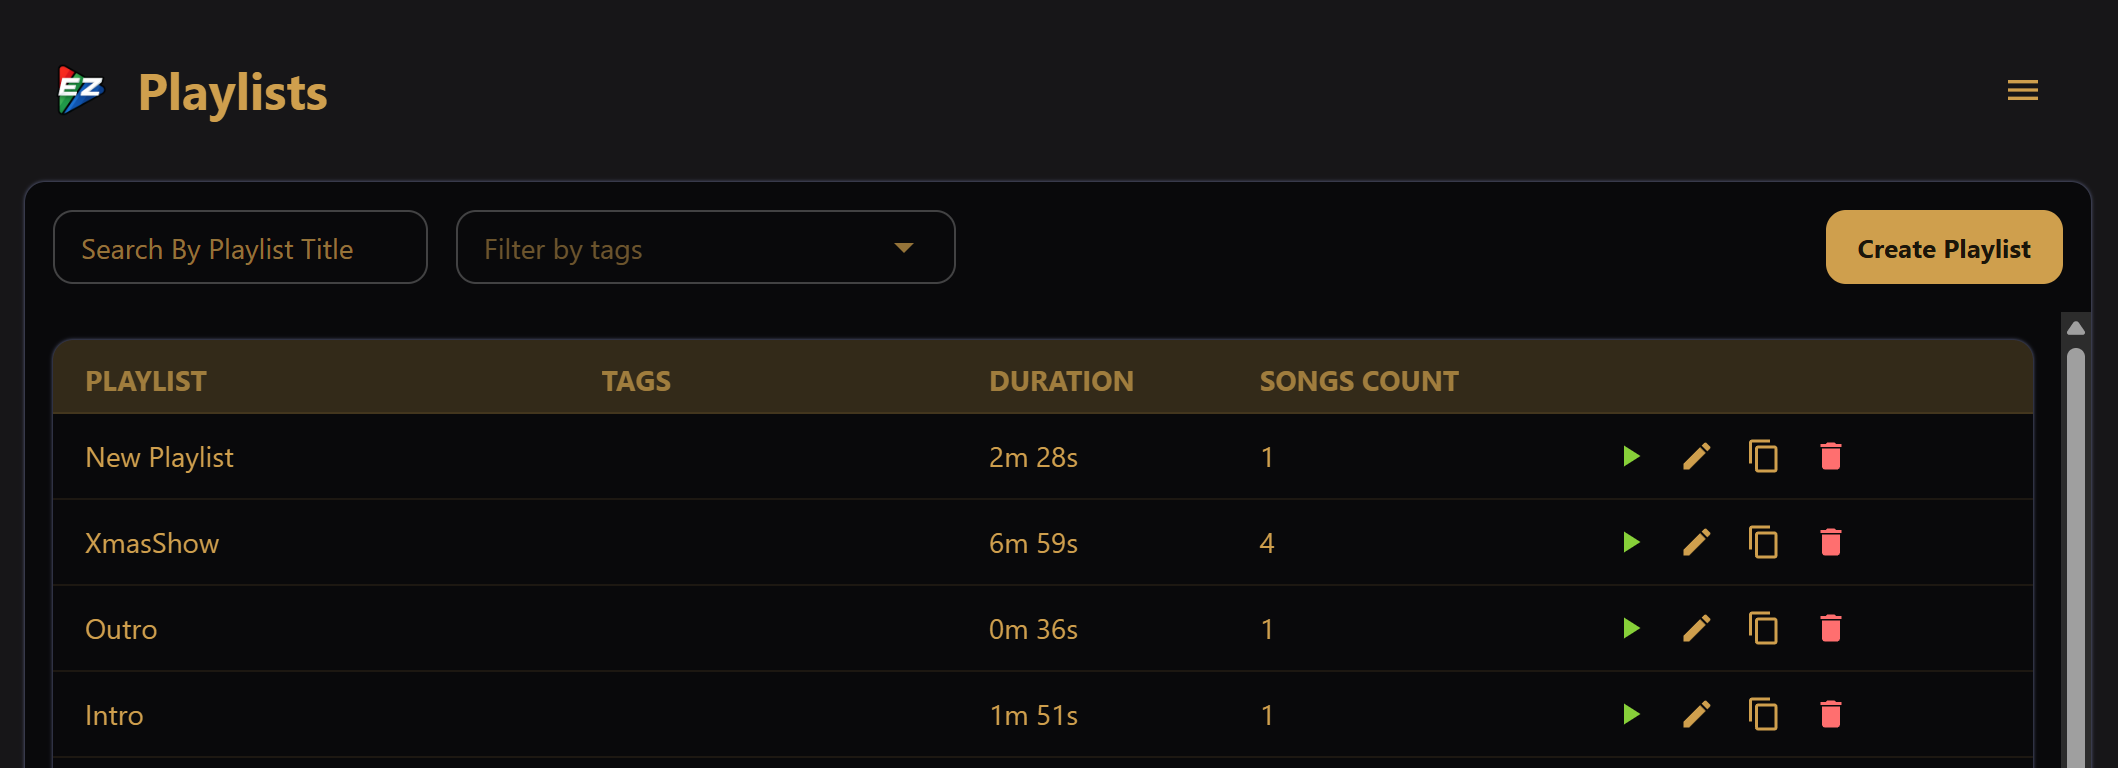
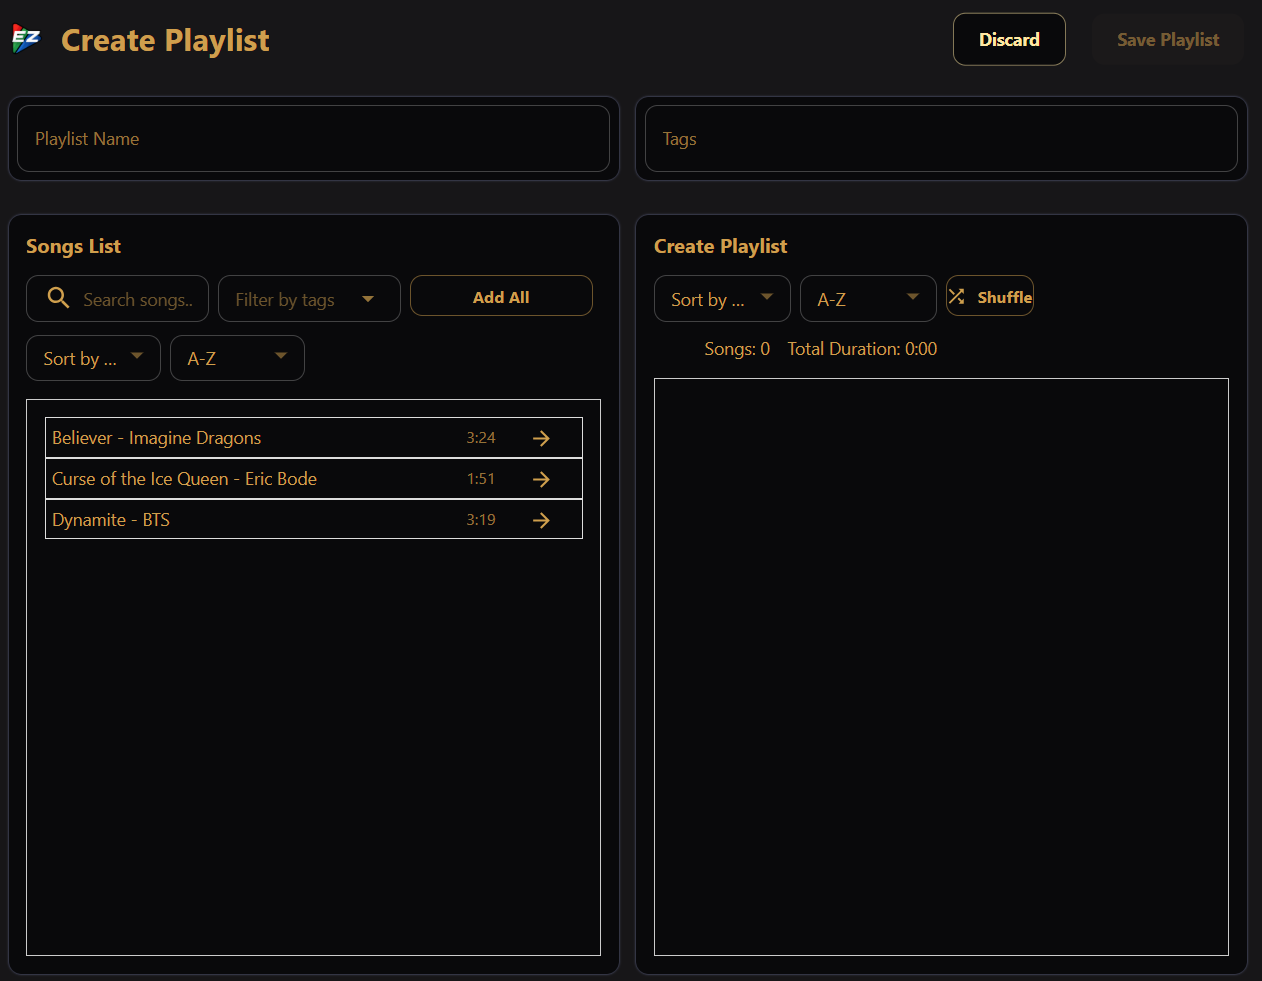
Open Playlists and click Create Playlist. Drag songs from the list on the left into your playlist on the right, set a name, and save. Schedules play playlists — not individual songs — so group your sequences into at least one playlist before you set show times.
You can also create and edit playlists from EZRGB via Manage Player, or on the website itself for a fully cloud-managed show.
See Playlists for sorting, tags, and cloning.
5. Schedule the show
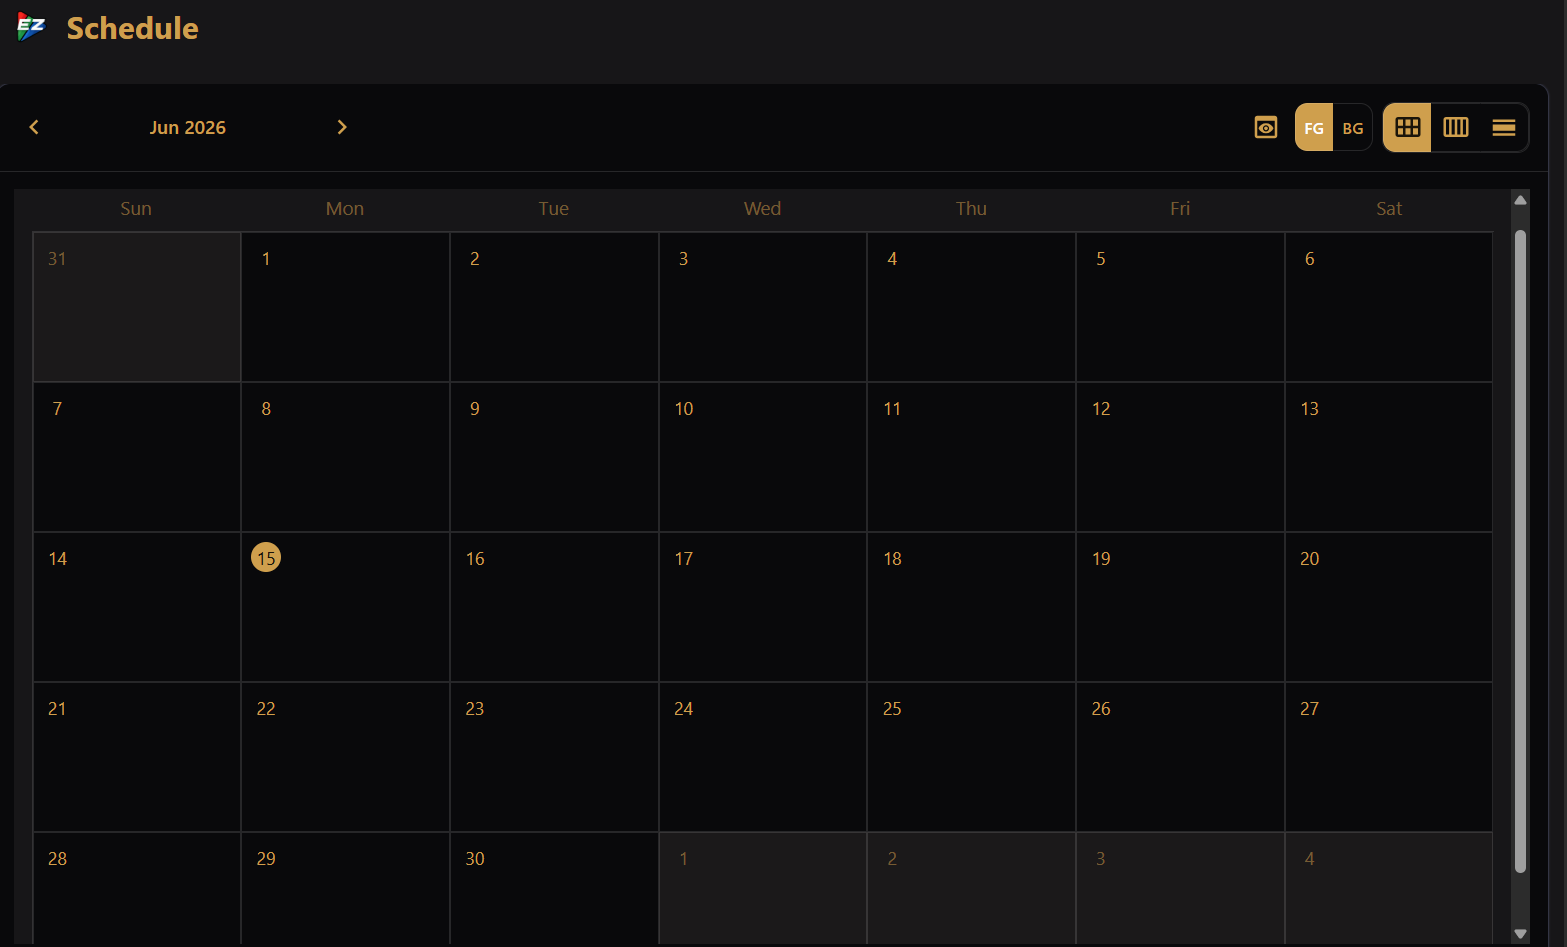
Open the Schedule screen to set when your show runs. Click a date to add a schedule. Choose a playlist, a time window, a date range (if desired), loop, shuffle, and other options.
Once a schedule entry's start time arrives, EZPlayer runs it on its own.
For more on recurring schedules and intro/outro playlists see Simple Schedules. For background layers, priorities, runtime behavior, and previewing a schedule, see Complex Schedules.
6. Drive it from your phone, tablet, or other computers
On the show network — EZPlayer serves a LAN UI: open the player's address from any phone or laptop on the same network. The default port is 3000; confirm under Show Status → HTTP Listener Status. See Local Web Interface.
Over the internet — on EZRGB, open your account → EZPlayer → Manage Player for the full remote player UI (playlists, schedule, playback, and more). Prefer a new browser tab.
7. Use cloud features
Go to EZRGB to adjust your layout, get more songs, and manage the show from anywhere. Details: Registering, Cloud Status / Control UI, Getting Sequences, and Full Cloud Control.